Quickly and easily add fonts from your computer and Google Fonts! Favorite your fonts for quick access on your projects. Managing your fonts work the same across our Photo Editor, Graphic Designer, or Collage Maker - and your settings will carry over to each tool.
This tool is only available for BeFunky Plus subscribers. Upgrade your subscription here!
Accessing the Font Manager
From the left-hand menu, click Add Text to add a text layer to your project. This will open your Text Properties panel. From here, click the font name to open your font list. Next, click the + icon near the Search Fonts field to manage your fonts. This will open the Font Manager. If you've added fonts previously, they'll appear in View Your Fonts.
Adding Fonts from Your Computer
If you don't see the font you're looking for, click Add From Computer, then either drag-and-drop your font files or click the upload link to search for the files on your computer. Once the font upload is complete, your new fonts will appear in your font list - X out of the Manage Your Fonts window and enter the font name in the Search Fonts field of the Choose a Font panel to find your font.
Adding Google Fonts
Click Import from Google Fonts to display a list of all Google Fonts available to add to BeFunky. To add fonts, click the + icon.
Pro Tip: Fonts with a blue checkmark are the ones you've added to your font list, the gray checkmark denotes the fonts that are already included with BeFunky.
There are a lot of Google Fonts available, so you can filter the results by Category, Thickness, and/or Language to find the font(s) you're looking for.
Pro Tip: If you see a font that offers multiple Thickness (weight) options, adding one version of the font will add the whole collection to your font list.
Once you've added a Google Font, click View Your Fonts to see all of them that have been added. When you add fonts to BeFunky, either from your computer or from Google Fonts, they'll be available on any computer when you log in to your BeFunky Plus account.
Using Your Fonts
Recent Fonts that you've used will be displayed at the top of your font list on the font selection panel. Underneath Recent Fonts, you'll see a list of All Fonts that you currently have access to. All Fonts will include fonts you've added from your computer, Google Fonts, and those that come with BeFunky. To find a specific font, you can scroll through your font list or, if you know the name of the font you want to use, type it in the Search Fonts field.
Favoriting Fonts
You can Favorite fonts you use frequently for quick access. To Favorite a font, hover over the font in the Choose a Font panel, then click the Star icon. If the Star icon is solid, that indicates that the font has already been favorited. If you click on the solid Star icon, you will remove the font from your Favorites list. To view all the fonts you've Favorited, click the Star icon located near the Search Fonts field, click the same icon again to leave the view.
Removing Fonts
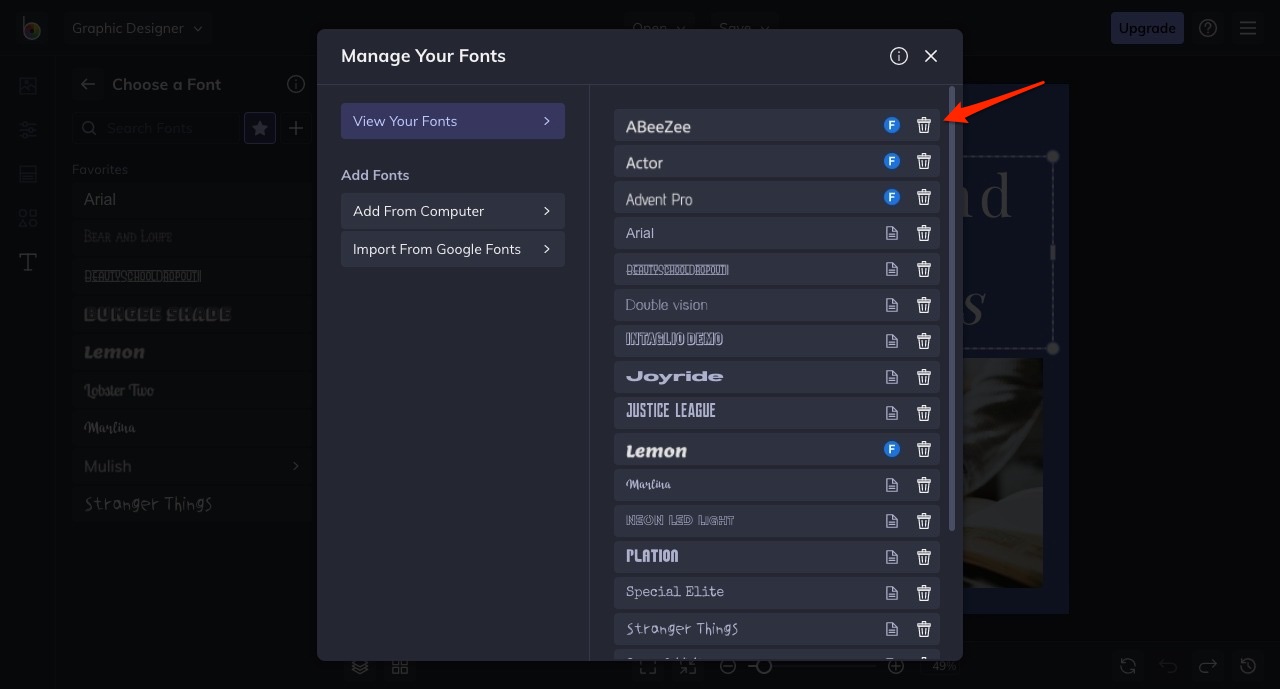 To remove any fonts you've added from your computer or Google Fonts, start by clicking View Your Fonts. This will list all the fonts you've added. Google Fonts will be labeled with an F icon, fonts added from your computer will be labeled with the file icon. Then, click the trash can icon next to the font you want to remove.
Looking for more inspiration? Check out another tutorial:
Typography Basics
Customizing Your Text
Why Isn’t My Font Working?